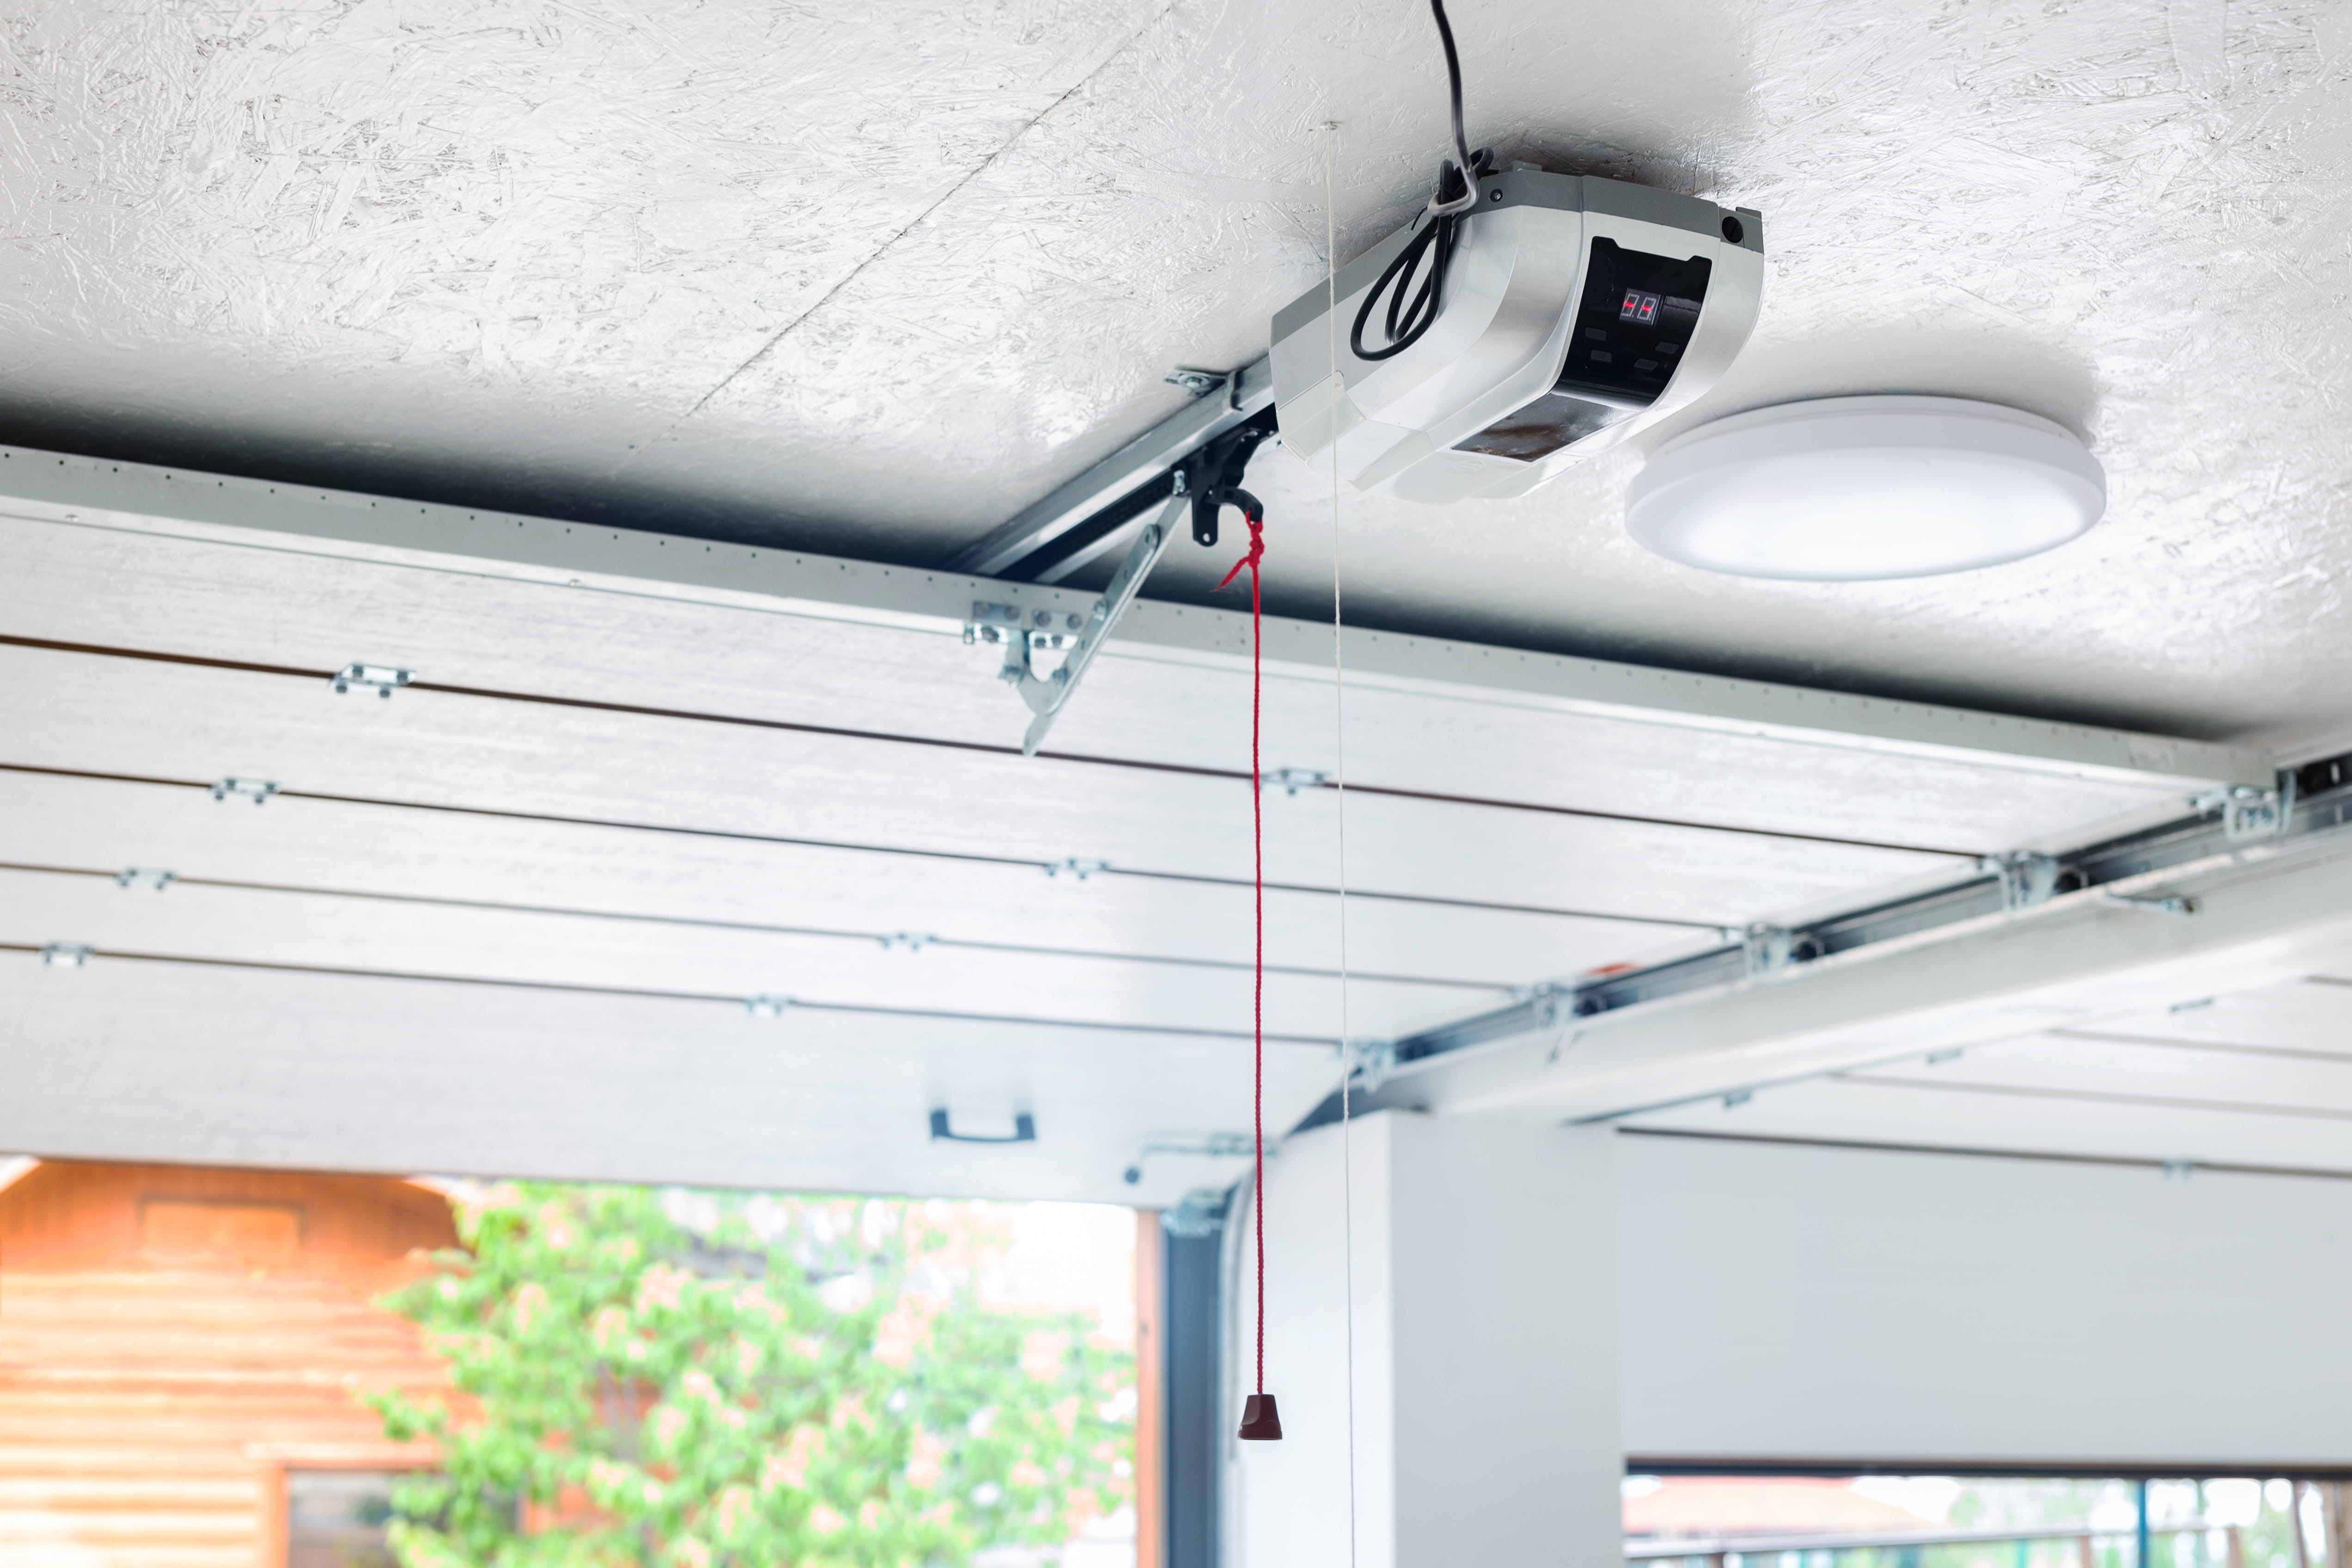
Garage Door Opener Troubleshooting Guide
If you’re currently staring at an unmoving door and need help, skip straight to the symptom in the step-by-step guide that best matches your situation and work your way through the list from there.
For the rest of us:
Picture this.
It's January. It's -28 outside, and that prairie wind is acting like it has a personal problem with your face. You're already running late. You hop in the truck, hit the garage door remote, and…. nothing happens.
You hit it again, then try the wall button: crickets.
Now you’re standing in the cold, your truck is stuck inside, and your last ounce of patience has drained from your body as your morning goes completely off the rails.
Or perhaps it's a lovely May morning, seed deliveries are in, and you’re ready to fire up the late starting season on the farm. But: surprise! Your door decides to take the day off right when you need it most.
This article is made for those moments. It’s a step-by-step guide to work through based on the symptoms you are seeing in your door to help you get moving yourself or know exactly when it’s time to call in professional advice. Bookmark it now for emergency use later.
(If you’re reading this and want to know how to avoid needing this article altogether, check out this month’s earlier post on preventing the main causes of opener failures here.)
Important safety note:
If your door feels heavy, drops quickly, makes a loud bang sound, or looks crooked, stop and call a professional. Doors and springs can be dangerous when something is failing, and you do not want a small issue turning into an injury.
Step-by-Step Troubleshooting Checklist (Start at Step 1)
Step 1: Is the Opener Completely Dead?
Power is always the first thing to check, and responsible for more call outs than you’d think.
What You See:
· No lights on the opener.
· No response from remote or wall button.
What to Check:
1. Power at the outlet
· Make sure the opener is plugged in.
· Check the outlet with another device (phone charger, small lamp).
2. Breaker or GFCI
· Check your electrical panel for a tripped breaker.
· If your garage has a GFCI outlet, reset it (often in the garage, sometimes near a bathroom, sometimes near the panel depending on the home).
3. Wall control lock or vacation mode
· Some wall controls have a lock feature that disables remotes. Press & hold the lock button for 3-5 seconds to turn on/off. If the wall button works but remotes do not, this is a common culprit.
If the opener is still dead after these checks: you may be facing a failed logic board, wiring issue, or motor issue. Check Step 7, but it may be time for some professional intervention.
Step 2: Does the Wall Button Work but the Remote Does Not?
What You See:
- Wall button opens and closes the door.
- Remote does nothing or works only up close.
What to Check:
1. Remote batteries
· Replace batteries first. It is the easiest fix.
2. Remote reprogramming
· If batteries do not help, reprogram the remote to the opener (check your opener manual for your model steps).
3. Antenna position
· On many units, the antenna wire hangs down from the motor head. If it is tucked up or damaged, range can be reduced.
4. Wall control lock or vacation mode
· As mentioned above, some wall controls have a lock feature that disables remotes. Press & hold the lock button for 3-5 seconds to turn on/off.
If the wall button works and the remote will not cooperate after these basics, a service call can quickly determine if it is a receiver issue or signal interference, or you can try replacing the remote. In the meantime, enjoy the extra step count using the wall button.
Step 3: Does the Door Open but Will Not Close?
This is one of the most common “in the moment” problems.
What You See:
- Door opens normally.
- Door will not close or starts down then reverses.
- Opener light flashes.
What to Check:
1. Safety Sensors (Photo Eyes)
Most modern openers will not close the door if the safety sensors are blocked, misaligned, or not connected.
· Look for obstructions. Anything can break the beam: a shovel, a bin, a bike tire, your cat wandering by.
· Wipe the lenses. Use a soft, dry cloth. Dust and cobwebs are more common than people think.
· Check the indicator lights. Usually one sensor shows an amber light and the other shows green. If one is off or flickering, alignment is likely the issue. Loosen the wing nut and adjust until the LED is steady.
· Check sensor brackets. If your bracket is loose, vibration or a bump can knock sensors out of alignment.
Temporary Close Tip (Only for Getting the Door Down)
Some openers allow you to close the door by holding down the wall button continuously, even if sensors are not reading correctly. This is meant as a temporary method for securing the garage while diagnosing and fixing the issue.
If sensors are clean and aligned and the door still will not close, move to Step 4.
Step 4: Does the Opener Run but the Door Barely Moves, Stops Early, or Reverses?
This is the point where you need to separate “opener problem” from “door problem.”
What You See:
- Opener appears to engage normally.
- Door barely moves, moves very slowly, stops early, or reverses directions.
What to Check: Manual Door Test
It’s time to disconnect the opener and test the door by hand, because openers are designed to move a door that is already balanced and easy to lift.
How to Do It Safely:
- Close the door fully.
- Pull the red emergency release cord to disconnect the door from the opener.
- Lift the door by hand to a roughly halfway position.
What The Results Mean:
- Door feels heavy, sticks, appears crooked, or drops when opened halfway:
- This is likely a door issue, not an opener issue. Common causes include spring problems, rollers, track alignment, or a cable issue. Call a trained door tech, because an unbalanced door can be very unsafe with springs under extreme tension.
- Door lifts smoothly, feels manageable, and stays in place when opened halfway:
- Your door is likely fine, and the issue is most likely with the opener system, settings, or sensors. If no previous steps have helped, move to Step 5.
- Your door is likely fine, and the issue is most likely with the opener system, settings, or sensors. If no previous steps have helped, move to Step 5.
Step 5: Does the Door Close Then Immediately Reopen, or Stop Just Short of the Floor?
What You See:
- Door closes, touches the floor, then reverses.
- Door stops with a gap at the bottom
- Door closes but the motor strains
Likely Causes:
- Travel limits need adjustment
- Force settings are too sensitive
- Door is meeting resistance at the bottom (seal frozen, debris, uneven floor)
What You Can Safely Check:
1. Look for resistance at the bottom
· Ice buildup at the bottom seal in winter
· Rocks, mud, or debris near the threshold
· Anything rubbing on the tracks
Please do not start adjusting force and limits unless you know what you are doing. If you adjust settings incorrectly, you can create safety issues or make the problem worse. This is a good point to book a professional inspection if the simple resistance check does not solve it.
Step 6: Does the Door Open Only 6 to 12 Inches and Stop?
This symptom often points to one of two categories.
Category A: Door is out of balance or binding.
· Again, the manual door test tells the truth. If the door is heavy or does not move smoothly, do not keep running the opener.
Category B: Sensor, travel module, or internal opener issue.
· If the door is smooth manually and the opener still stops early, the issue may be within the opener.
If none of the above listed sensor checks make a difference, a tech can diagnose this quickly and advise whether a repair or opener replacement makes more sense.
Step 7: Does the Opener Hum or Click But Nothing Moves?
What You See:
- Motor hums.
- Clicking sound.
- Door does not move.
What it Can Mean:
- The trolley is disconnected.
- The drive gear is worn or damaged.
- The chain or belt is damaged.
- An internal component has failed.
What to Check:
· Make sure the trolley is engaged. If someone pulled the release cord, the opener can run while the door stays put. Re-engaging varies by model, but often you can pull the release toward the opener and run the opener until it reconnects.
· Does the indicator light show any error codes? Many modern openers have diagnostic lights who’s flashing codes can be found within your model’s manual to save a lot of guess work.
· Look up at the drive rail above the opener. You can usually see any worn or broken belts, chains, or a stripped screw drive from the ground.
· If nothing is visible but the motor clicks and hums, it could require a capacitor replacement (internal repair).
· If nothing is visible and the motor shows no signs of life (and the power checks in Step 1 do nothing), this could be a circuit board replacement (internal repair).
If trolley engagement isn’t the solution, booking a service call for professional advice is likely in your future so you don’t waste time and money on unnecessary parts and guess work.
Step 8: Is the Door Crooked, Off Track, Or Do You See Hanging Cables or Parts?
Stop immediately.
These are not “keep pressing the remote” problems. This is where damage can escalate quickly, and it can be unsafe. If you see worn or broken cables or springs, gear sprockets on the floor from below the opener, or the chain is hanging very loose, it is absolutely time for a service call. Springs under tension can be a real danger to your people and equipment.
When to Stop Troubleshooting and Make the Call
Here is the truth: there is a lot here you can check and fix yourself.
However, there are situations where stopping and calling is the right move; not because the problem is necessarily complicated, but because getting it wrong has real consequences. This is when to stop and call a pro every time:
· The door is out of balance, heavy in manual mode, you see visibly broken parts, or the door has come off the tracks. Torsion springs are under serious tension. Spring adjustment and replacement are not DIY jobs.
· The door reverses repeatedly and you cannot find a clear obstruction/sensor alignment issue
· The opener is at or over 10 years old and you see no signs of life, or you are seeing repeat failures. At this age, it is likely time for a replacement conversation.
· You have worked through all eight steps and still cannot identify the problem.
At Align Doors & Maintenance Ltd, we check the full system, not just the opener. That includes door balance, sensors, travel settings, and the garage door parts that cause opener strain.
If you are in Medicine Hat or surrounding areas and you find yourself at the bottom of this article with a still-uncooperative door, call Align Doors & Maintenance Ltd. We have 24/7 on call techs and will get you back up and running, tell you what failed, and help you plan for the future so it doesn’t happen again.
Want to avoid calling us as long as possible? Learn easy safety checks, balance tests, and maintenance steps you can do yourself to make the most of your opener's lifespan here.
Here’s to a trouble-free tomorrow


.png)
.jpg)